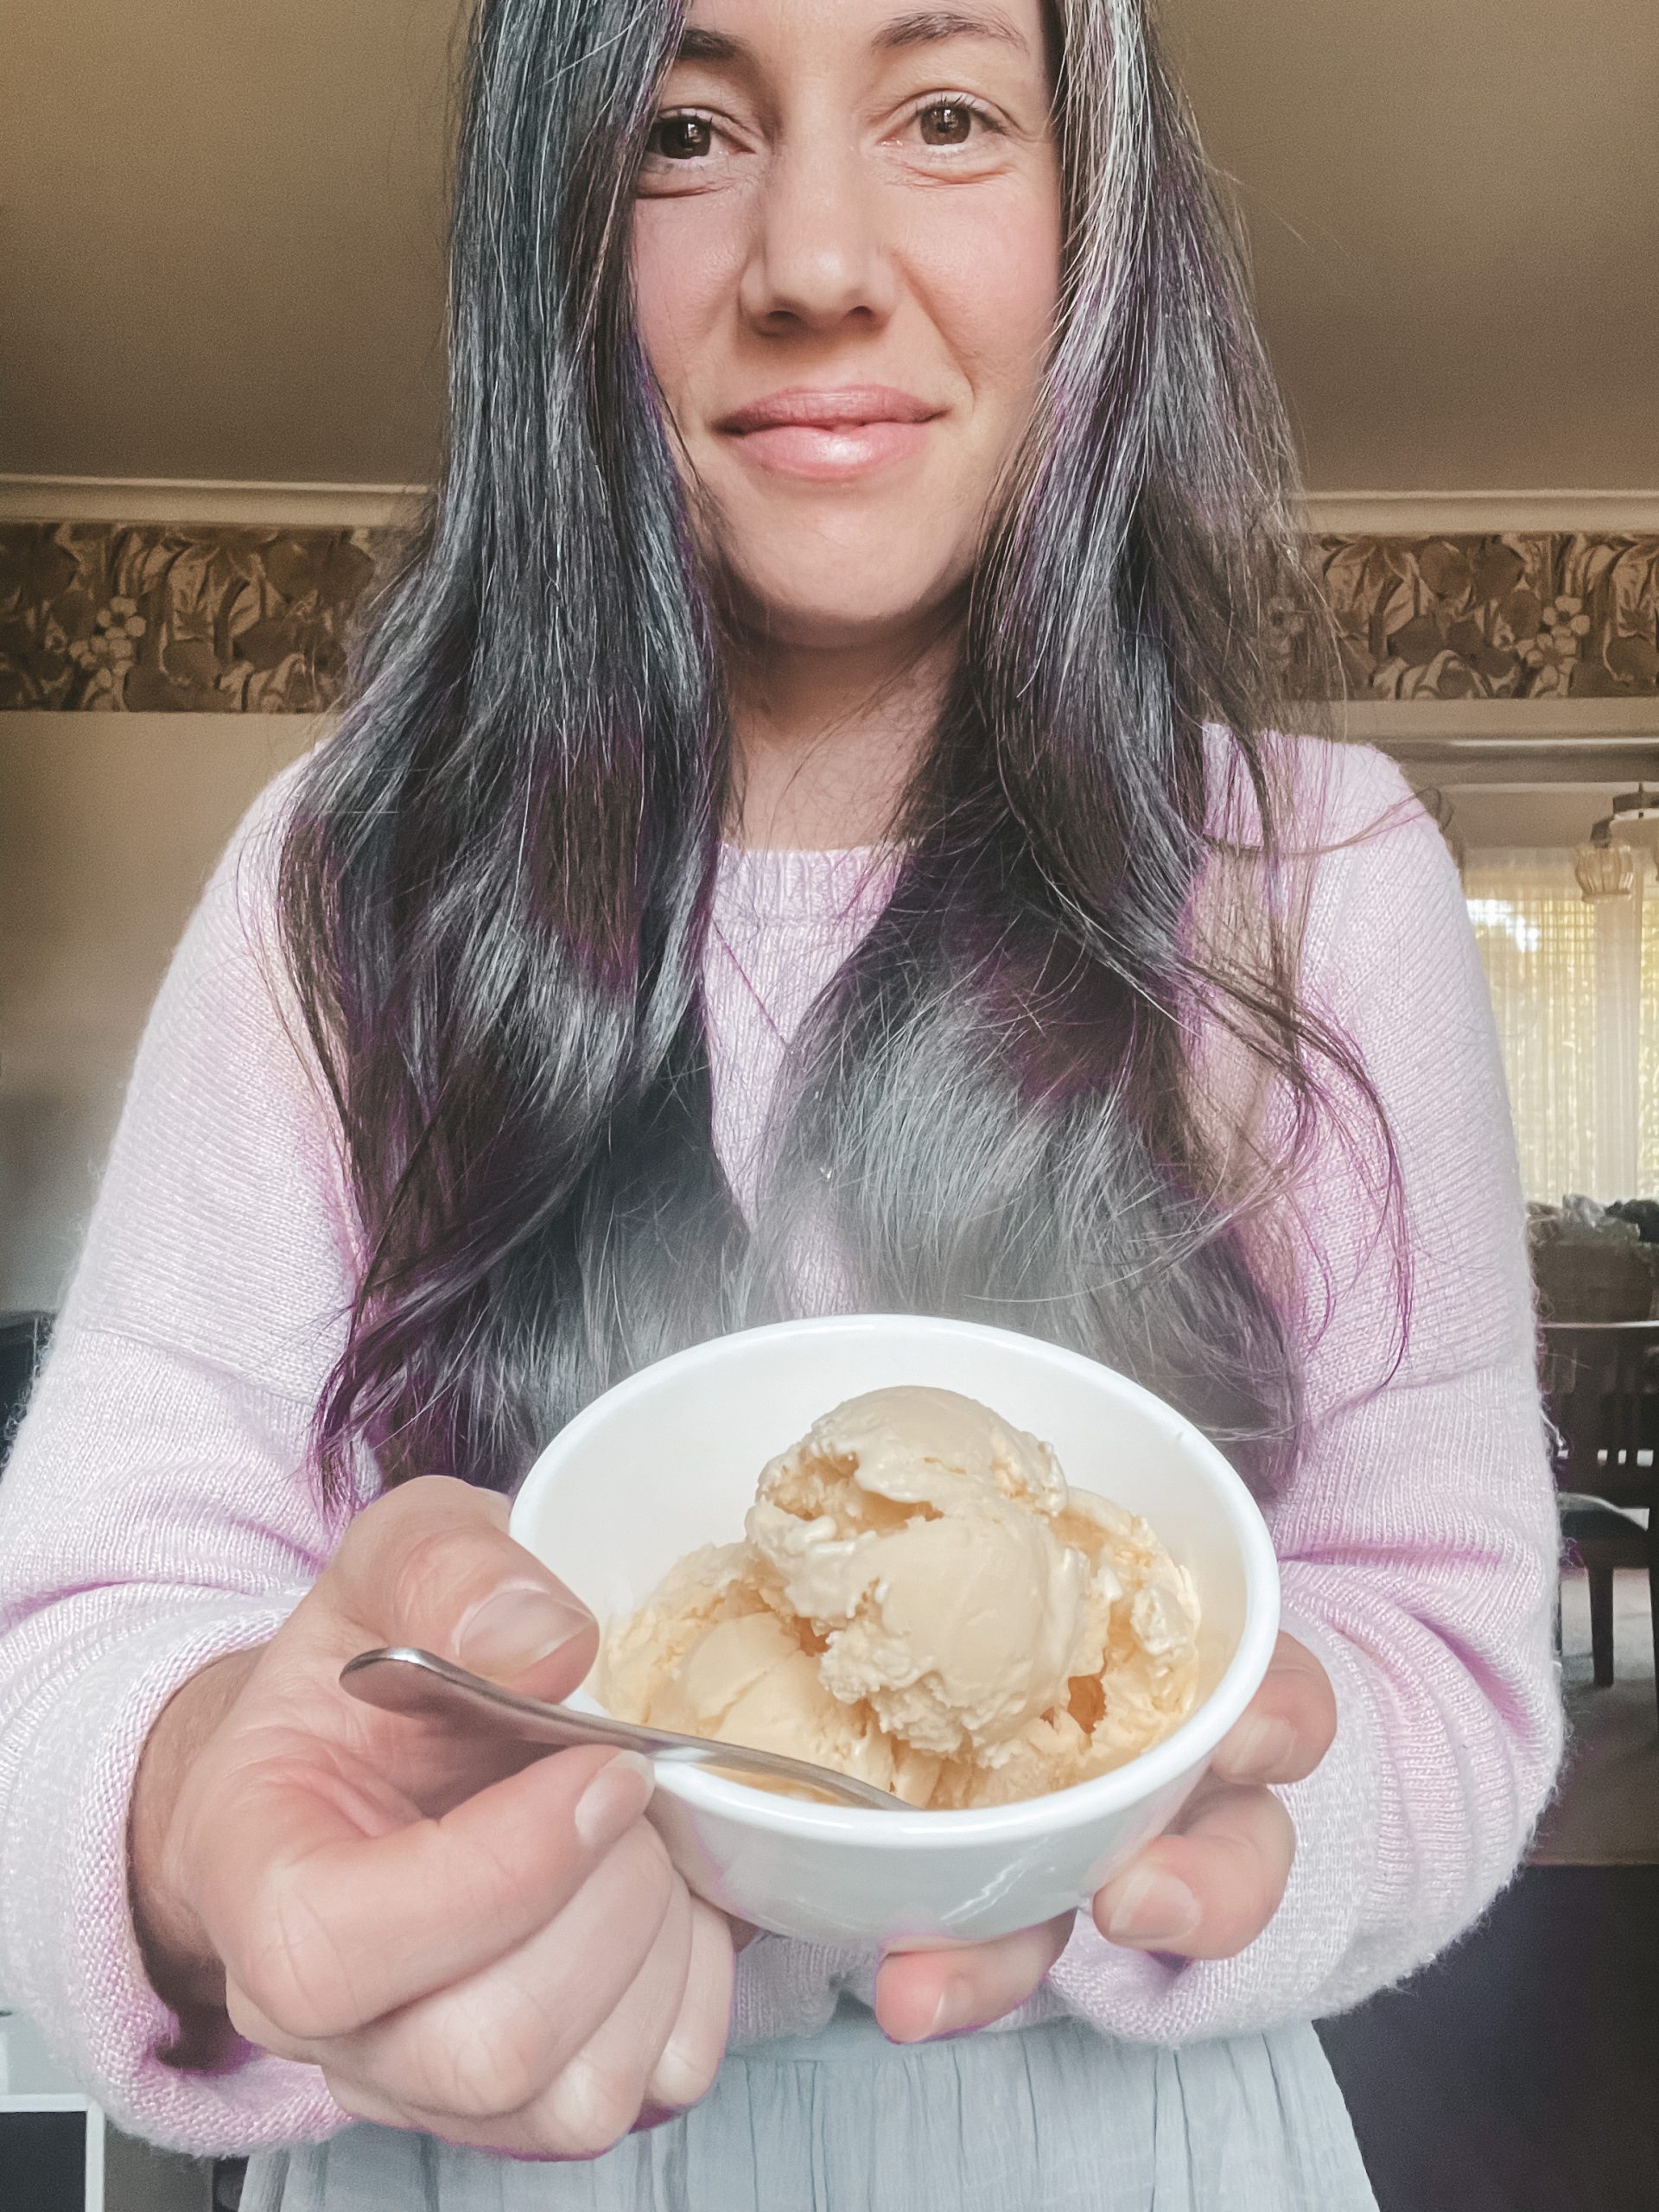
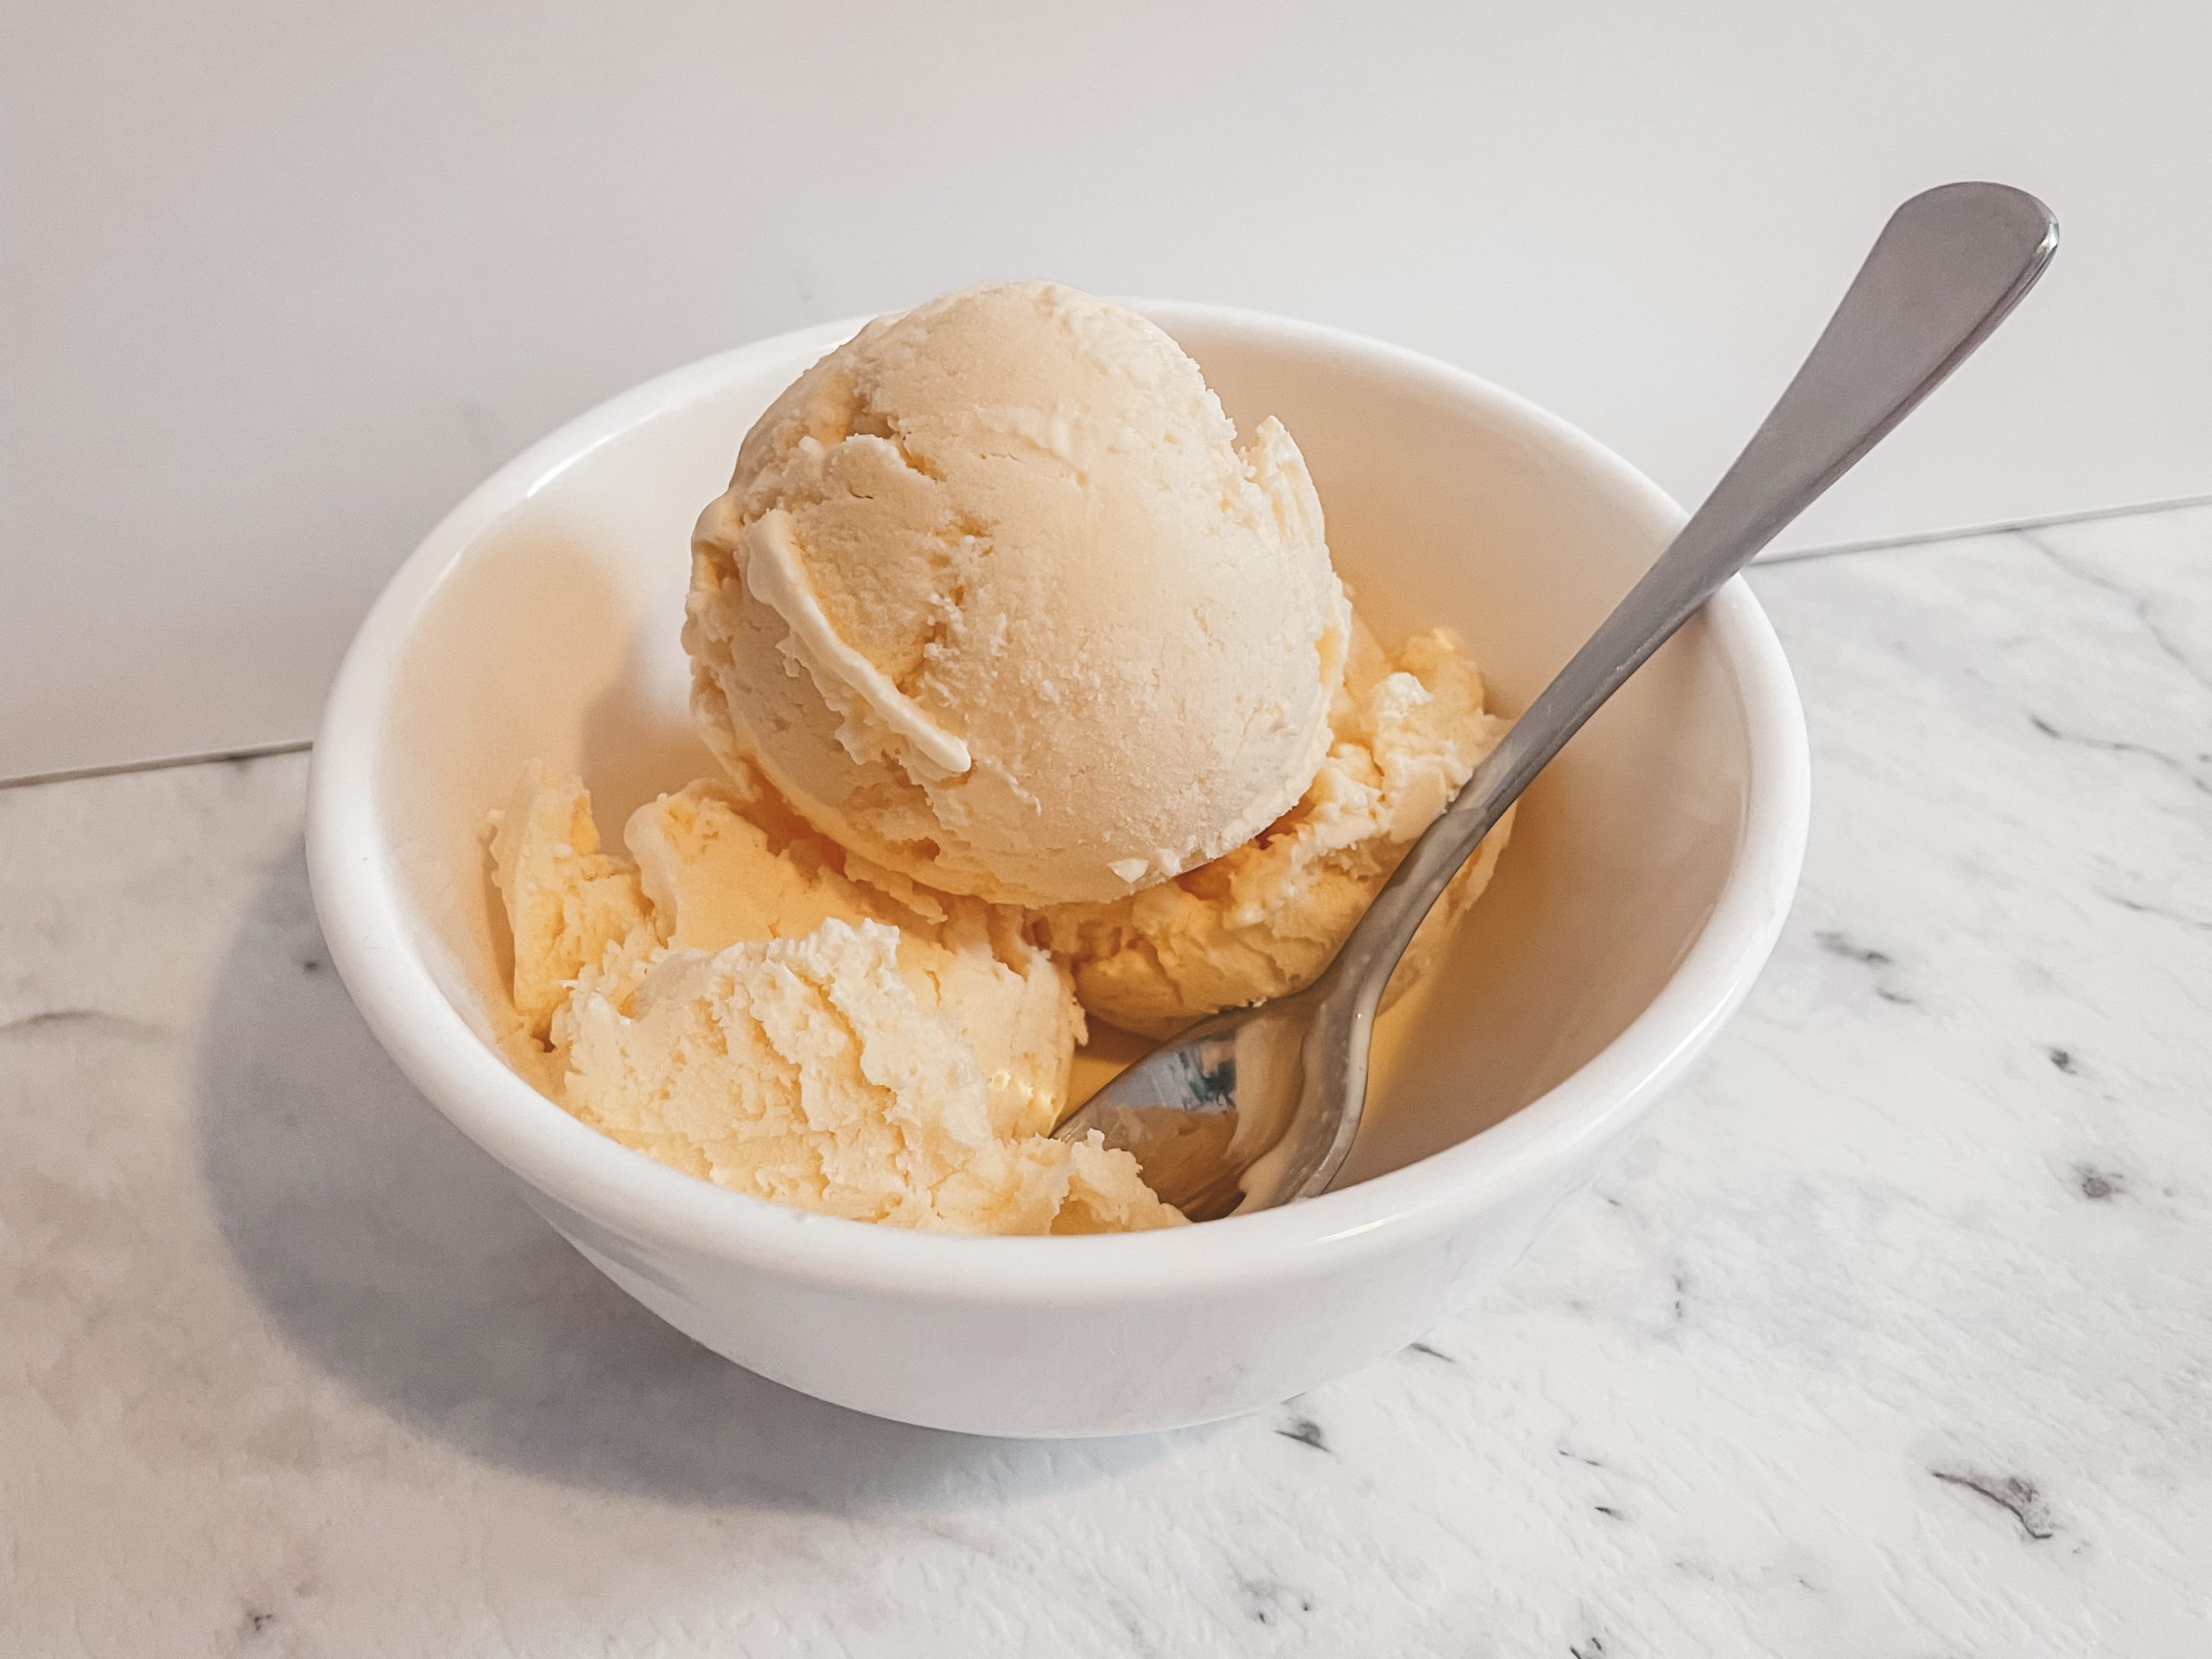
If you follow me over on Insta, you’ll know that I’ve been following a predominantly animal-based diet for the last 2 months (aka the carnivore diet). This means I’ve only been eating animal foods – meat, fish & seafood, eggs, and dairy (I’m also having a little bit of fruit here and there).
Along this journey, I’ve been looking for ways to get creative with these limited ingredients and this homemade ice cream recipe was a game changer. It does include a little bit of white sugar (or you can use honey or maple syrup), so for my purposes, it’s technically not totally animal-based – but it’s absolutely delicious and made with real food ingredients, so I’m making an exception.
For the longest time ice cream has been one of those foods I’ve loathed buying from the supermarket, because it’s usually so full of crappy filler ingredients (e.g. milk solids, emulsifiers, artificial flavours, skim milk, vegetable oils, etc.).
Real ice cream should just be a few ingredients that are easily recognisable by name.
And although made-from-scratch cooking is something I value highly, I’ve always been put off by the prospect of homemade ice cream because I assumed you need an ice cream machine to help it freeze.
I was wrong.
In a few simple steps, you can make your own divine, real-food ingredient ice cream at home.
Check the equipment list below, but I’m sure you’ll be able to do it. If I was able to do it in my minimal, low-equipment kitchen, you should be fine.

A note on sugar
This recipe is a low sugar recipe. Personally, I love the subtle hint of sweetness, balanced out by the richness of the egg yolk + cream. However, we all have a different palate and taste for sweetness, so increase the amount if you think you’ll enjoy more.
I made a batch for a wider audience at a dinner party recently and doubled the sugar, and it was still balanced but definitely more sugar forward. Everyone loved it and no one mentioned the lack of sweetness.
I believe one of the benefits of this recipe is that it’s low sugar, so experiment to find your own sweet spot.
Homemade ice cream
Equipment
Saucepan
Two mixing bowls of different sizes which will nest one in the other
An additional mixing bowl
Electric whisk or beaters
Ingredients:
1 cup pure cream – use the best quality cream you can access & afford
1 egg yolk
1 teaspoon vanilla essence*
1 heaped tablespoon of white sugar (or honey or maple syrup)
For the freezing step: plenty of ice + general use salt
Note: you can multiply the recipe to make whatever quantity you like, the proportions remain the same
*So far, I’ve just used vanilla essence and it’s been lovely. But once I get my hands on a fresh vanilla pod, I’ll be trying this, as I’m sure it’ll be even more delicious.
Method
1. First, ensure you have plenty of ice ready in the freezer for the ‘freezing’ step. You’ll need a couple of cups, depending on the size of the mixing bowls you’re using
2. Begin by placing your two mixing bowls into the freezer to allow them to cool down while you prepare the ice cream mixture
3. Heat the cream in a saucepan over low heat. Heat for a few minutes, but do not let it boil.
4. Meanwhile, in another mixing bowl, add the egg yolk, vanilla, and sugar, and whisk gentle to combine all ingredients
5. Very slowly, little by little, add the cream to the egg mixture, whisking constantly. You don’t want to add too much cream at once, as the heat will curdle the egg. Start with a small splash of cream, whisk well, then another splash, whisk well, etc. Towards the end you will be able to add the cream in a more steady stream as the egg has been brought up to temperature.
6. Place your ice cream mixture in the fridge and leave to cool down completely. You want it to be as cool as possible for the next step. This may take an hour or so, depending on the volume of mixture you’ve made
7. Take your two mixing bowls out of the freezer and add the ice to larger bowl. Sprinkle a generous amount of salt over the ice (I don’t use a precise measurement here, I just sprinkle until there is a thin layer over the top, probably about 1/2 cup)
8. Pour the ice cream mixture into the smaller bowl and then sit it inside the large ice bowl. Using electric beaters, on medium speed, beat the mixture for around 10 minutes. Eventually, it will start to increase in volume and change texture, looking more silky or velvety. Cover the bowl with wrap or a tea towel, and return to the freezer for 1 hour (if you’re making a double or triple batch, this time might be longer – i.e. 2 hours; you’re looking for it to have mostly frozen over without being solid).
9. Remove the bowls after 1 hour and use the electric beaters to beat the ice cream again, keeping the small bowl inside the large ice bowl. Beat for another 5 minutes to take the air out of the mixture and mix the ice particles evenly.
10. At this point, you are essentially finished and you can add your ice cream to a storage container and leave it in the freezer for 24 hours to completely freeze (although we often can’t wait that long!). For an extra creamy ice cream, you can repeat the step above another once or twice, if you have the patience and time.
Enjoy!
I’d love to know if you make this. Leave a comment below or tag me over on Insta
Georgie xx


0 Comments